Leave Your Message

How to Choose the Right Filter Drier for Your HVAC System

Choosing the right Filter Drier is a small decision with major consequences for HVAC reliability. It protects the compressor from moisture, acids, dirt, and harmful chemical reactions. A poor selection may create excessive pressure drop, restrict refrigerant flow, or fail during demanding operating conditions.

HVAC educator Eugene Silberstein has stated, “A filter-drier is not just a strainer; it is a moisture and acid control device.” That distinction matters in the field. Technicians must examine refrigerant type, system capacity, connection size, flow direction, and the manufacturer’s recommended specifications. A residential split system may need a different Filter Drier than a heat pump, supermarket rack, or air-conditioning unit after compressor burnout.

Installation details deserve equal attention. The shell must match the refrigerant circuit. The arrow should follow normal flow, unless the component is approved for bi-directional operation. Brazing requires careful protection, because internal contamination can begin before the system starts. A core that looks clean is not proof of a healthy system.

There is no universal “best” Filter Drier. That answer sounds convenient, but it is incomplete. Field experience shows that moisture levels, installation quality, and system history often change the correct choice. This guide explains how to compare capacity, filtration, desiccant type, pressure drop, and replacement needs. It also considers an uncomfortable point: even a premium Filter Drier cannot repair poor evacuation or careless commissioning.
How to Choose the Right Filter Drier for Your HVAC System

Classify Contaminants and Moisture: Target a 500-Micron System Vacuum

Choosing a filter drier starts with identifying what the system has swallowed. Moisture, acid, copper oxide, dirt, and compressor debris require different internal protection. Use service history, oil condition, and recovered components as evidence. A burned compressor needs more than a standard moisture-control core. It may need acid capacity and a temporary cleanup arrangement. Small systems also deserve careful sizing. An oversized drier can reduce pressure drop, but may not provide ideal contact.

Moisture classification should guide both the drier and the evacuation procedure. After repairs, pull the system below 500 microns with a calibrated electronic vacuum gauge. Place the gauge at the system, not beside the pump. That location matters. Hold the vacuum, isolate the pump, and watch the micron rise. A fast rise often suggests a leak. A slow rise may indicate trapped moisture, though temperature can distort the reading. Warm the system gently when appropriate, and never guess from one measurement. Reach 500 microns, then verify stability. That target is a checkpoint, not a magic number.

Select a drier rated for the refrigerant, system capacity, flow direction, and expected pressure drop. Check connection size and installation direction before opening the sealed package. Keep tubing clean and cap the drier until installation. Replacing it after a major contamination event is often wiser than relying on its original capacity. Field experience shows that clean vacuum readings can hide moisture in cold, poorly prepared systems. That mistake is easy to repeat. Document the final micron reading, decay result, and filter condition. Those details make the next diagnosis faster.
Match Refrigerant and Oil: Check OEM Compatibility and ASHRAE 34 Class

Choosing the right filter drier begins with the refrigerant and oil already inside the HVAC system. A drier designed for one combination may perform poorly with another. Check the equipment nameplate and service records before opening the circuit. Confirm the exact refrigerant designation, oil type, and required charge.

OEM compatibility matters more than a convenient shelf label. Review the manufacturer’s technical data for desiccant type, pressure rating, temperature limits, and moisture capacity. Polyolester oil, mineral oil, and other lubricants can react differently with moisture and desiccant materials. A small mismatch may leave acid, wax, or water in the circuit. That damage may appear weeks later.

Check ASHRAE 34 safety classification too. Classes such as A1, A2L, and A3 describe toxicity and flammability, not complete drier compatibility. The classification should match the refrigerant and the system’s approved service procedures. Never select a replacement from the class alone. Confirm connection size and flow direction as well.

Field technicians often compare the old drier’s markings with the OEM service manual. They also inspect the oil sample for discoloration or debris. A quick rule can mislead. Some retrofit systems need a different drier after an oil or refrigerant change, even when the fittings look identical. I have seen “universal” choices create uncertainty during commissioning. When the documentation is unclear, pause, verify the refrigerant data, and record the decision before installation.

Size by Flow and Capacity: Compare AHRI 711 Ratings at Design Conditions

Choosing a filter drier starts with the system’s actual operating conditions, not just the line diameter. In field work, I check refrigerant type, design evaporating temperature, condensing temperature, and expected mass flow. A drier that fits the pipe may still create excessive pressure drop.

AHRI 711 ratings provide a useful comparison point. Review the rated flow capacity at conditions close to your system design. Do not compare tonnage alone. Refrigerant properties and temperature can change the required mass flow significantly. A unit rated for a certain capacity under one condition may perform differently at another pressure drop or liquid temperature. Check both flow capacity and moisture capacity when the application demands strong contamination control.

Use the system’s peak design load, not its average running load. Then allow practical margin without choosing an unnecessarily restrictive drier. I have seen technicians select a large shell for confidence, only to add cost and increase installation space. Bigger is not automatically safer. It can also make replacement awkward in a crowded mechanical room.

Confirm the AHRI 711 rating basis, refrigerant, and pressure-drop condition before approving the selection. Record these details with the equipment model and commissioning data. That small record helps later troubleshooting. My own early selections relied too heavily on nominal tonnage. The lesson was uncomfortable but useful: ratings need context. Always compare like with like.

Select Desiccant Media: Balance Molecular Sieve, Alumina, and Acid Control

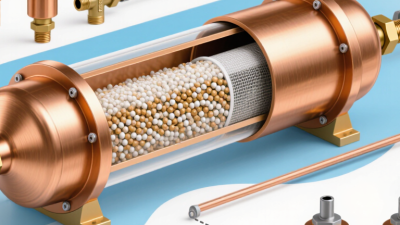
Choosing the right filter drier begins with the desiccant media inside it. Molecular sieve is highly effective for removing water from refrigerant circuits, especially after installation or exposure to humid air. It performs well with many modern refrigerants and lubricants, but its capacity can be affected by system temperature and contamination levels.

Activated alumina serves a different purpose. It helps control acids and can capture certain oil-decomposition products after compressor overheating. A blended design may provide broader protection when moisture and acid are both concerns. However, more media does not automatically mean better performance. Excessive restriction can increase pressure drop and reduce system efficiency. Check the manufacturer’s capacity data and the refrigerant-oil compatibility before selecting a size.

I have seen technicians replace a failed compressor without correcting the original moisture source. The new drier then became overloaded quickly. That detail matters. After a burnout, acid testing, cleanup, and repeated drier changes may be necessary. For a normally operating system, prioritize moisture capacity and suitable flow rate. For a repaired or contaminated circuit, give acid control greater weight. Do not guess.

Field conditions can change the decision. A long liquid line, frequent service work, or outdoor installation may justify stronger moisture protection. A small residential system may need a compact drier with low pressure drop instead. My own early mistake was choosing by connection size alone. Capacity, media type, system history, and operating conditions deserve equal attention.

Verify Installation: Use Bi-Flow Heat-Pump Models and Monitor Pressure Drop

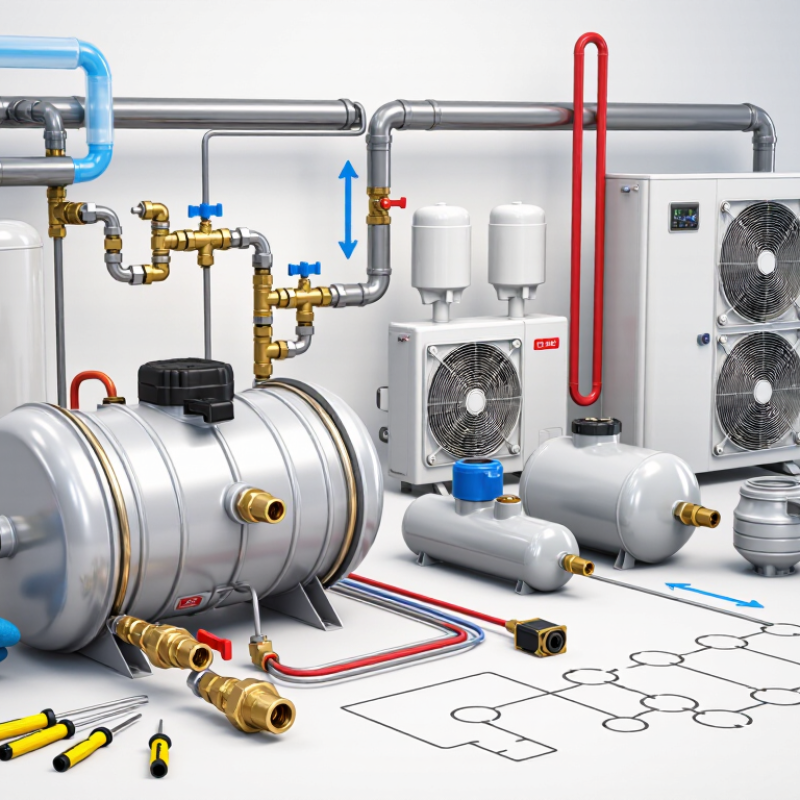
A filter drier protects the refrigeration circuit, but heat pumps need a specific installation approach. Select a bi-flow model designed for reversing refrigerant movement. Its internal check valves must support both heating and cooling cycles. Confirm the flow arrow arrangement before brazing. A small installation mistake can restrict the system during winter operation.

The International Energy Agency reports that heat pumps could reduce global carbon dioxide emissions by at least 500 million tonnes annually by 2030. Reliable installation therefore matters beyond comfort. The ASHRAE Handbook—Refrigeration recommends checking pressure drop against the component’s rated operating data. Measure suction and liquid-line pressures before installation, then repeat measurements after commissioning. Use stable operating conditions, not the first minute after startup. Watch the pressure difference across the drier. Rising pressure drop can indicate contamination, moisture, incorrect sizing, or a restricted core. There is no universal “safe” number; refrigerant type, mass flow, and temperature change the result. That part is often overlooked.

AHRI Standard 740 provides recognized methods for evaluating refrigerant purity and contaminants. Use clean tubing, dry nitrogen during brazing, and verified evacuation equipment. Record readings in the service log. A handwritten note is better than memory. I would also recheck the drier after several operating cycles, because an apparently normal startup reading can hide a developing restriction. If the pressure drop remains higher than the published rating, investigate before replacing parts at random.

How to Choose the Right Filter Drier for Your HVAC System – Verify Installation: Use Bi-Flow Heat-Pump Models and Monitor Pressure Drop
Selection or Installation Dimension What to Verify Practical Guidance Acceptance Check
System Configuration Determine whether the system is a cooling-only, heat-pump, or reversible heat-pump system. Use a filter drier specifically rated for bi-directional refrigerant flow in a reversing heat-pump circuit. A standard one-direction liquid-line drier is not automatically suitable for flow reversal. Bi-flow suitability confirmed in the technical data sheet.
Refrigerant Compatibility Match the filter drier to the refrigerant and the system lubricant. Confirm compatibility with the installed refrigerant, including commonly used HFC and HFO blends. Do not assume that a drier approved for one refrigerant is approved for another, especially when using mildly flammable A2L refrigerants. Refrigerant, oil type, and safety classification are all compatible.
Capacity Rating Compare the drier’s rated refrigerating capacity with the system’s design capacity. Use the manufacturer’s capacity table for the actual refrigerant, evaporating or condensing condition, and required flow direction. Select by capacity rather than by connection size alone. Rated capacity meets or exceeds the system design load under the applicable conditions.
Connection Size Check the liquid-line tubing size and the drier connection type. Choose connections that match the line whenever possible. Unnecessary reducers, undersized fittings, and sharp restrictions can increase pressure drop and reduce available system capacity. Connection size matches the line and fittings are installed without avoidable restrictions.
Maximum Working Pressure Compare the drier’s maximum allowable working pressure with the system design and relief-pressure requirements. The allowable pressure must exceed the highest pressure expected during operation, shutdown, charging, defrost, and ambient-temperature exposure. Use the lower limit if any connected component has a lower rating. Maximum working pressure is suitable for the complete refrigerant circuit.
Moisture and Contaminant Control Assess whether the system is new, has been opened, or has experienced compressor burnout or moisture contamination. For normal installation, use a drier with a desiccant formulation approved for the refrigerant and lubricant. After severe contamination or burnout, follow the cleanup procedure and replace the drier according to the service plan. Drier type and replacement interval match the contamination condition.
Bi-Flow Installation Position Confirm the drier location and flow-direction requirements for both heating and cooling modes. Install the drier in the manufacturer-specified section of the refrigerant circuit. For a reversing system, verify that the selected model permits stable filtration and moisture control in both directions. Both operating modes have been checked after installation.
Pressure-Drop Measurement Measure pressure immediately upstream and downstream of the filter drier while the system is operating at a stable load. Calculate pressure drop as ΔP = inlet pressure − outlet pressure. Compare the result with the drier manufacturer’s published pressure-drop data for the actual refrigerant and operating condition. Measured ΔP remains within the published design limit.
Commissioning Pressure-Drop Target Establish a baseline after evacuation, charging, and stabilization. A low and stable pressure drop is expected across a correctly selected, clean drier. A rising or abnormal ΔP can indicate an undersized drier, restricted tubing, excessive moisture, contamination, or a partially blocked core. Do not use a universal psi limit; follow the specific pressure-drop chart for the selected drier.
Temperature Comparison Check the temperature at the drier inlet and outlet along with the pressure readings. A noticeable temperature difference across the drier, especially when combined with increased ΔP, may indicate restriction or flashing caused by insufficient liquid pressure. Pressure and temperature readings are recorded together for diagnosis.
Evacuation Before Charging Remove air and moisture before placing the system into normal operation. Use a suitable evacuation procedure, properly sized hoses, and a calibrated micron gauge. Evacuation time alone is not proof of dryness; confirm that the vacuum level holds after isolation. A stable vacuum test is completed before refrigerant charging.
Leak and Brazing Protection Inspect joints, service ports, and brazed connections after installation. Use dry nitrogen while brazing to limit internal oxidation. Pressure-test and leak-check the circuit using procedures permitted for the refrigerant and equipment. No leaks are detected and internal contamination is minimized.
Final Verification Confirm system performance in both heating and cooling modes, where applicable. Record operating pressures, line temperatures, superheat or subcooling as applicable, compressor current, ambient conditions, and pressure drop across the drier. The system operates normally in every required mode, with a documented baseline for future service.
Important: Filter-drier capacity, allowable pressure drop, refrigerant compatibility, and maximum working pressure vary by model and operating condition. Always verify the final selection against the current technical data for the equipment and refrigerant in use.